How to use JWT with real-world examples
What is JWT
JWTs are encrypted JSON tokens used for secure authentication and information exchange.
Structure
A JWT consists of three components:
- Header: Contains token details like the algorithm type.
- Content (Payload): Includes data for secure authentication or exchange, such as passwords.
- Signature: Verifies the token or message authenticity.
How to add JWT security: 2 steps
To make application servers more secure, we can use JWT in the following way:
- The server creates a JWT token using user credentials.
- Then sends the JWT token back to the client.
- The client sends the JWT token back to the server when accessing databases or other services.
- The server decodes the JWT token using credentials and checks if it's valid.
- If the token is valid, the client is allowed access; otherwise, an error occurs.
That's how JWT helps secure applications.
How to create JWT
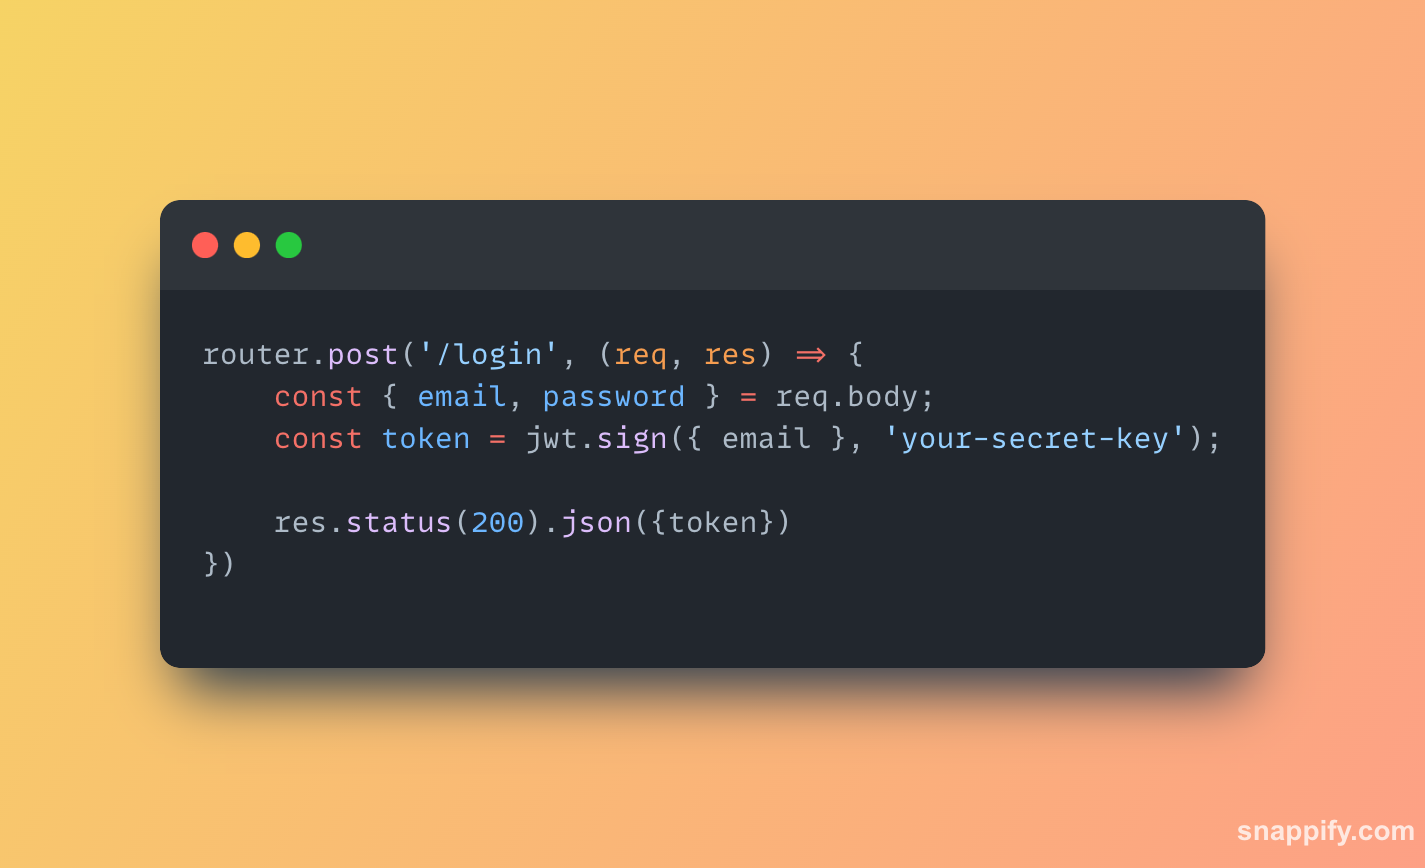
Let's look at a real life javascript example demonstrating the creation of a JWT.
$ npm install jsonwebtoken
- JWT contains a
signmethod to generate a token using credentials. - Make an endpoint that accepts user email and password as parameters.
- Generate a token using the provided email.
- Send the generated token back to the client.
- Store the user credentials securely in the database.
const jwt = require('jsonwebtoken');

router.post('/login', (req, res) => {
    const { email, password } = req.body;
    const token = jwt.sign({ email }, 'your-secret-key');
    // store user credentials in DB
    // You can even hash the password with salting to make it more secure
    res.status(200).json({token})
})
How to validate JWT
- Implement an endpoint that accepts the user's email as a parameter and expects a JWT token in the request header.
- Use the JWT verify method to authenticate the token provided in the header.
- The JWT verify method requires a secret key, typically a string hardcoded and stored in the environment configuration file.
- Upon successful verification, the JWT method returns the email extracted from the token.
- Compare this email with the email sent in the API request.
- If the emails match, the token is considered valid; otherwise, an error is thrown indicating authentication failure.
router.post('/verify', async(req, res) => {
	const {email} = req.body;
	const header = req.header['Authorization'];
	const token = split(" ")[1];
	const { email: userEmail } = jwt.verify(token, 'your-secret-key');

	if (userEmail === email){
		// token is valid

		res.status(200).json({"error": null})
	} else {
		// Invalid token create new token or sends error to the client

		res.status(403).json({"error": "access denied"})
	}
})
In 2 simple steps, you can add a JWT security layer that handles most security tasks.
Hashing & Salting Passwords
In addition to the previous method, once the user's email and password are verified and the token is generated, store the token in the database before sending it back to the client.
You can enhance security by implementing hashing and salting for passwords. This method provides a more secure way to store passwords in databases compared to typical methods used by many databases today.
To implement hashing and salting, you can use libraries like bcrypt. Salting involves adding a unique string to the hashed password string, and this salt is stored alongside the hashed password in the database.
When verifying passwords later, you'll need to retrieve the salt stored in the database and combine it with the password input before hashing it. This ensures a more robust verification process.
Conclusion
That's the essence of JWT in just 2 steps. In real-world applications, additional methods and details may be required, but the core principles remain the same.
I hope you found this information helpful. Stay informed and subscribe for more updates.
Have a nice day till next time!


